Installing and sharing software is now as simple as sharing a configuration file in NixOS. If you want to learn how to install i3 or any window manager in NixOS, you are in the right place. In this article, I will cover a step-by-step beginner-friendly process for installing i3 on NixOS.
Why i3? Because i3 is an easy-to-learn yet powerful window manager. By following this guide, you will gain an understanding of how to install a window manager in NixOS, empowering you to navigate the process independently.
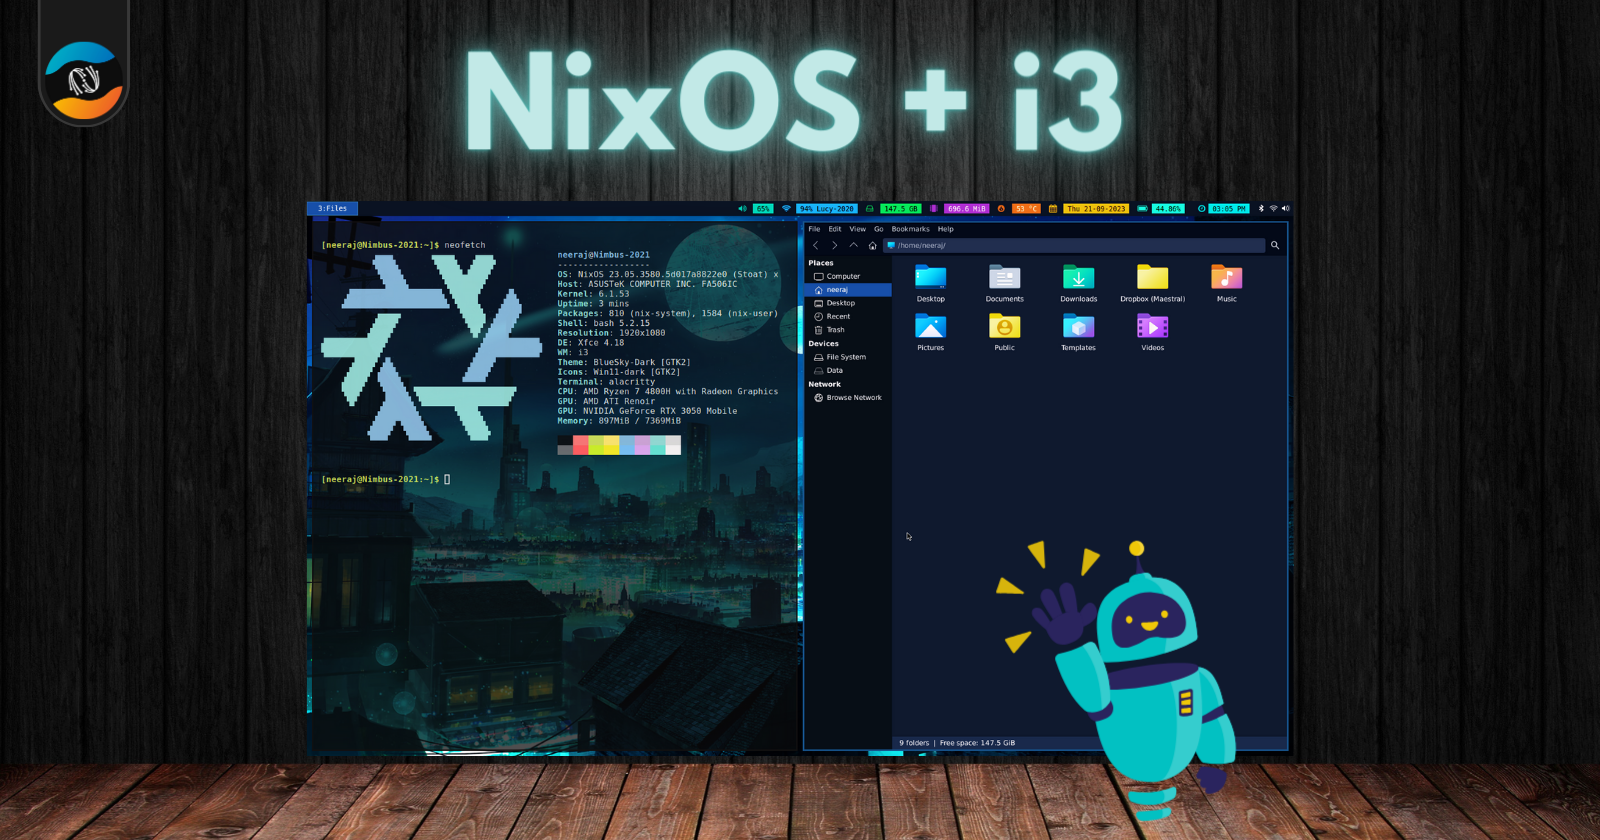
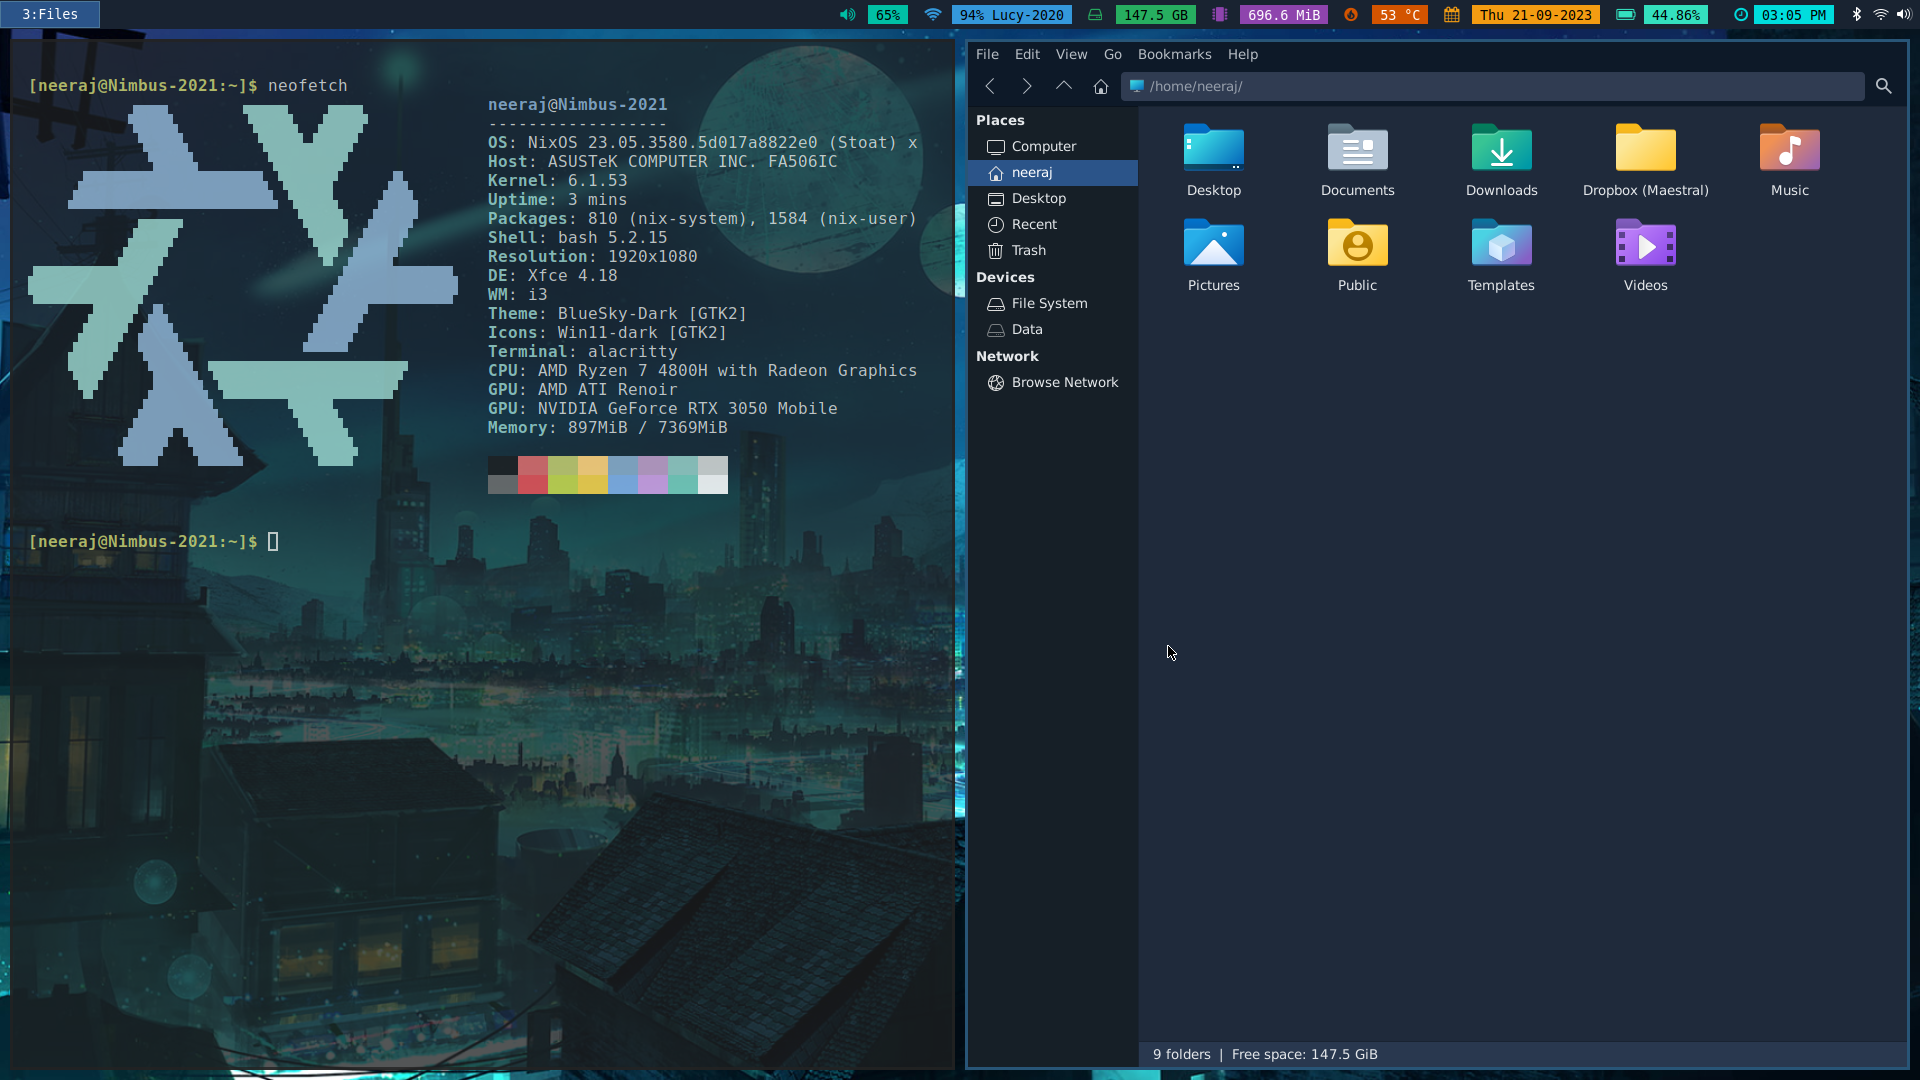
Before we begin, let’s take a look at the final product we aim to achieve.
TL;DR
This guide walked through configuring NixOS, focusing on i3 window manager integration and enhancing the system’s appearance. Key steps include installing i3, setting up Nerd Fonts, customizing GTK themes, and blending i3 with XFCE for an efficient yet visually pleasing experience. Your input and feedback are valuable for refining and sharing this personalized NixOS setup. Enjoy computing!
Installing NixOS Base
To install NixOS without a desktop environment, you’ll essentially install the base NixOS system and then customize your configuration to exclude any desktop-related packages. In this instance, the installation is taking place within a virtual machine, though the identical procedure applies to physical hardware installations.
NixOS Installation
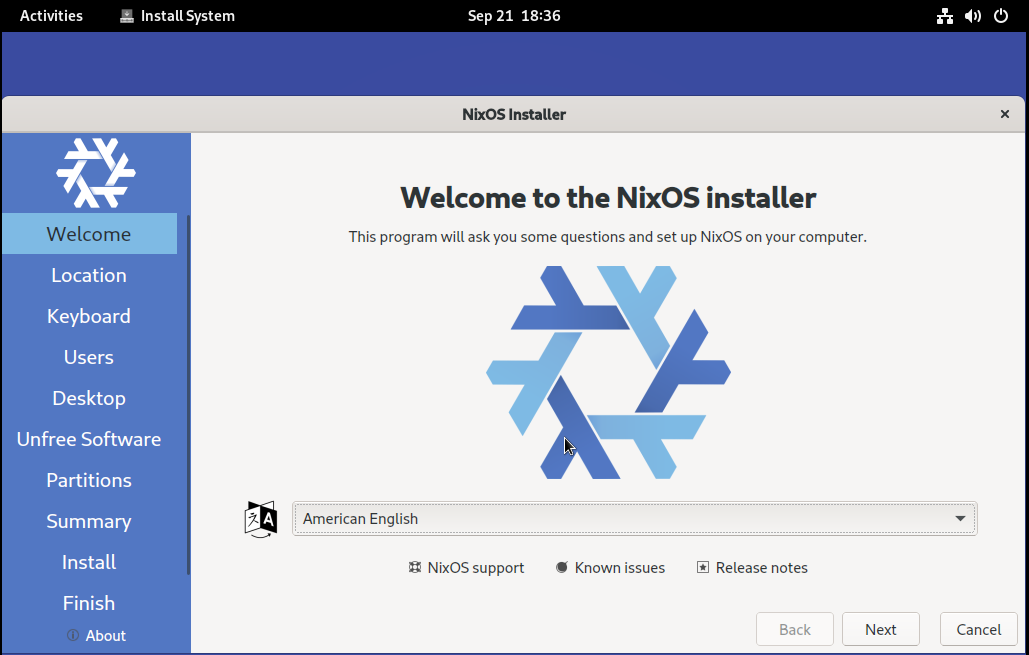
Step 1: Select the installer language.
Step 2: Select your region to set up the timezone.

Step 3: Select the keyboard layout.

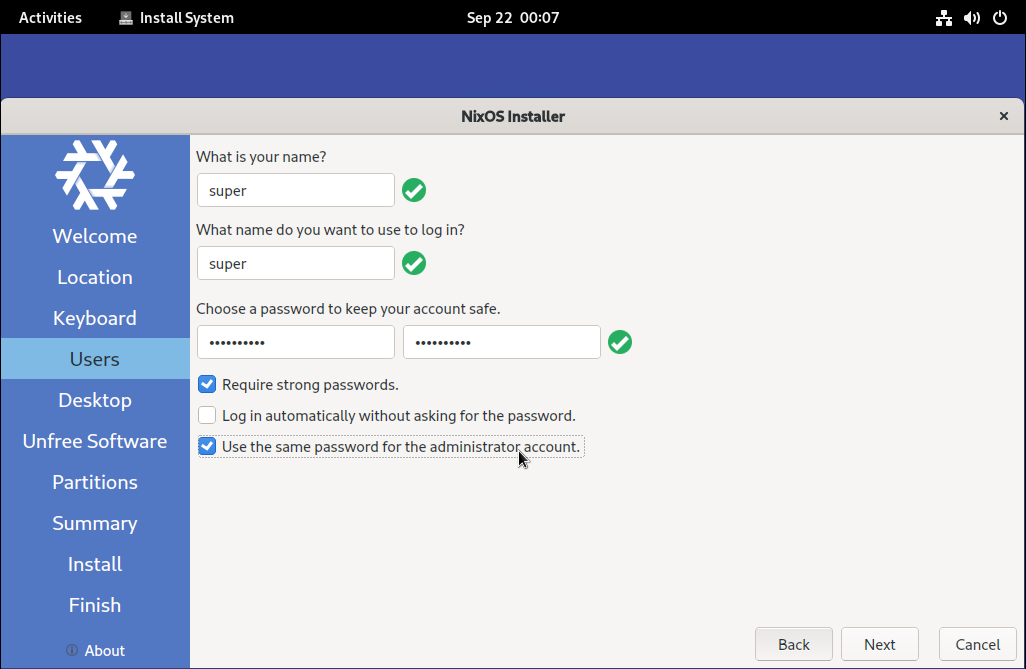
Step 4: Fill in the username and password details and check the boxes as shown in the image, Alternatively, you have the option to assign a separate password for the root user.
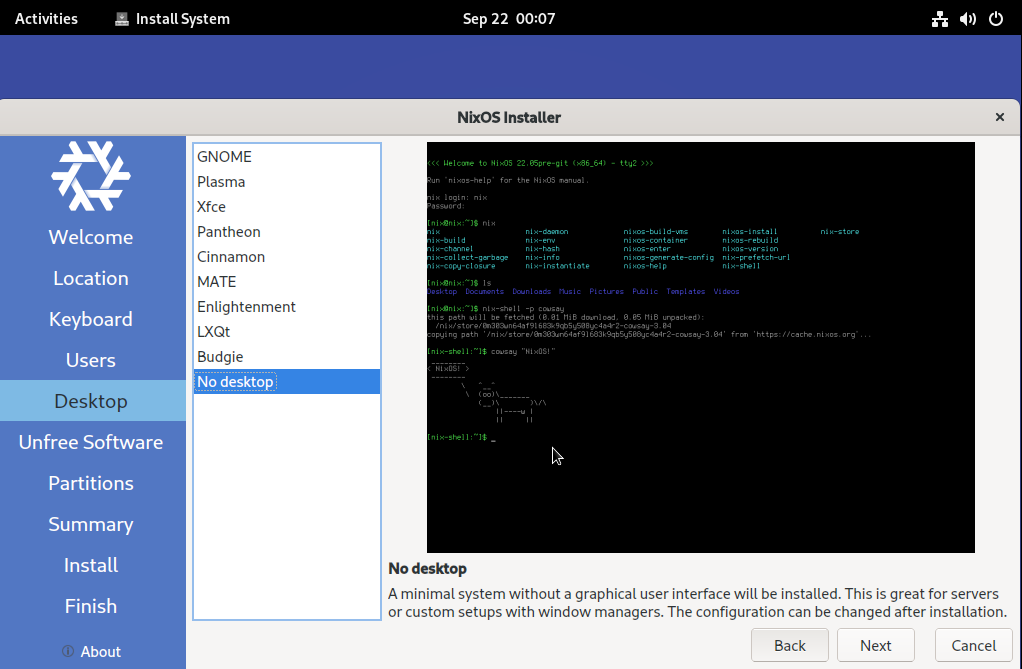
Step 5: Choose ‘No Desktop’ since we’re installing a standalone window manager, resulting in a minimal system installation.
Step 6: Enable the ‘Allow unfree software’ option. While adhering to the GNU policy of free software is an option, choosing this setting allows installation of packages like VS Code, Brave browser, or any other application with an unfree license.

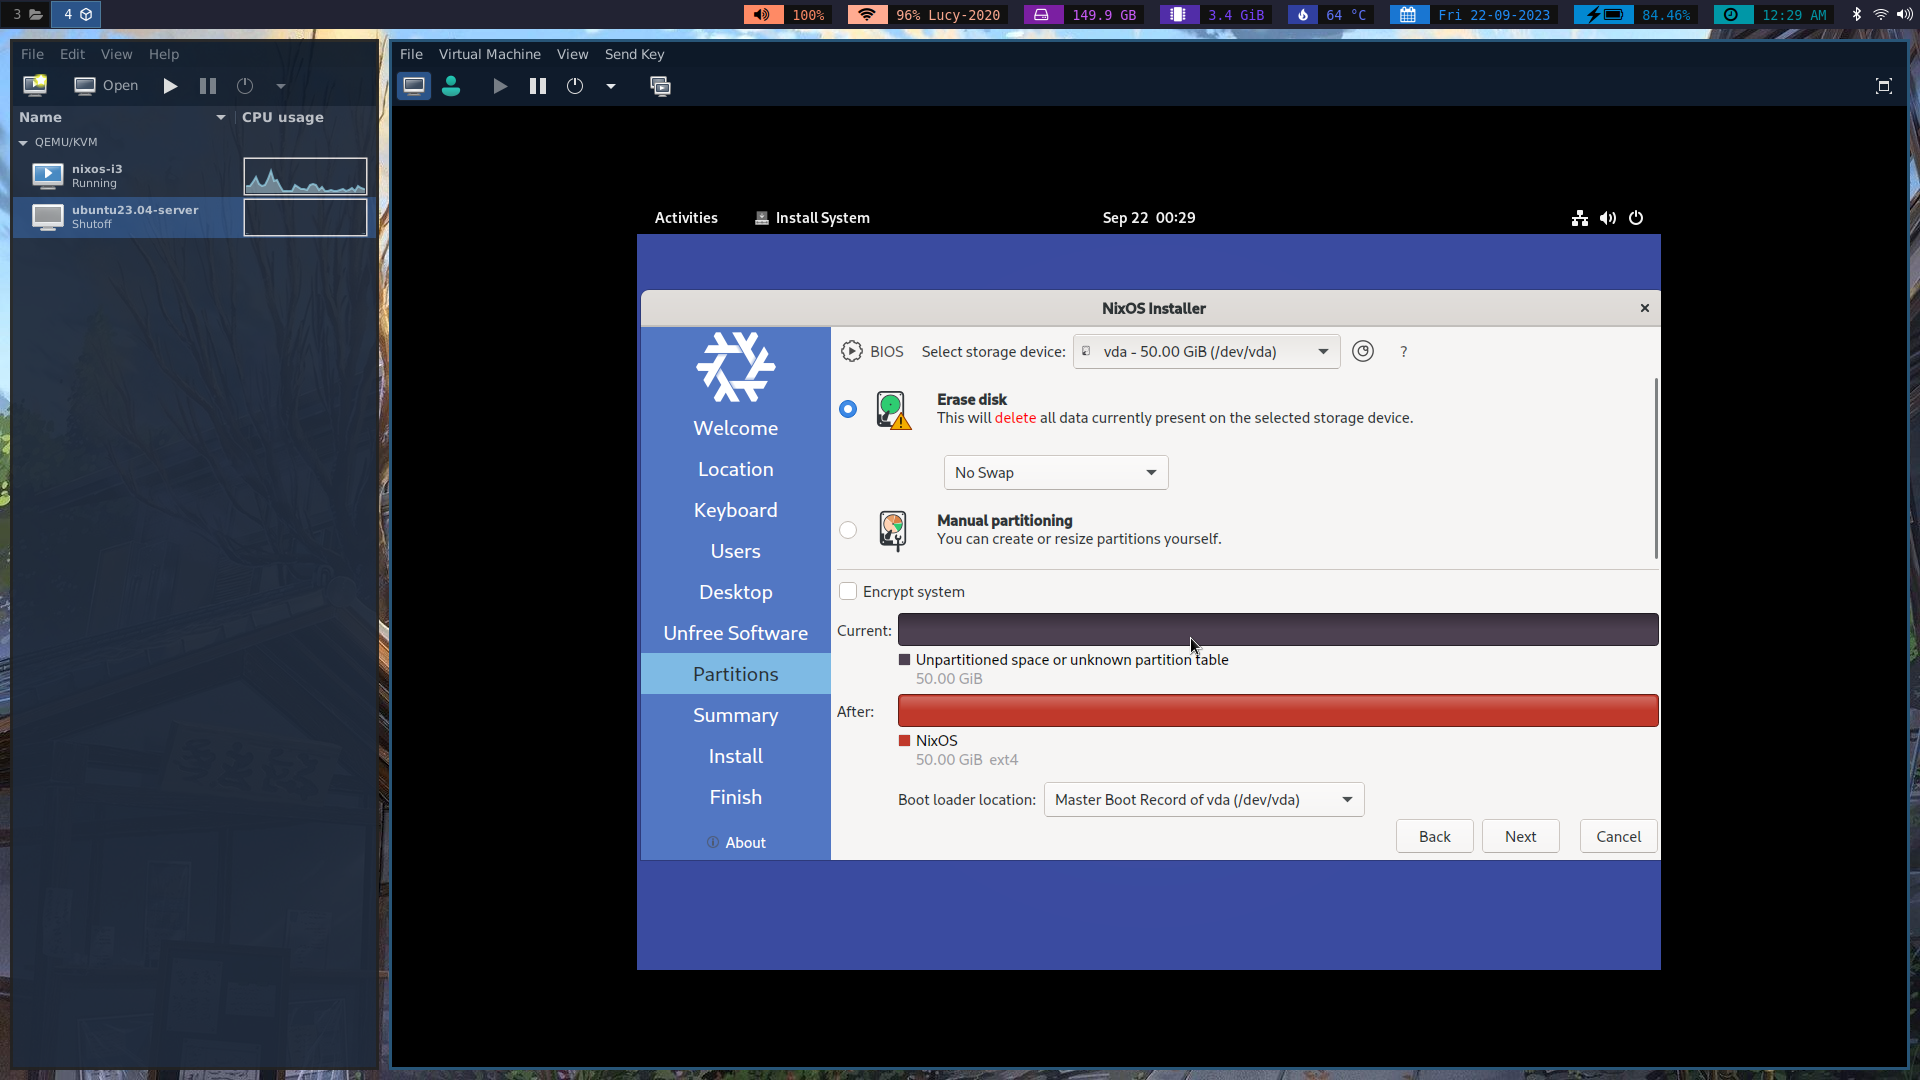
Step 7: Set up the partition table based on your preferences. In this scenario, as I’m working within a virtual machine, I’m opting for the ‘Erase Disk’ option. You have to select the ‘Manual Partitioning’ option.
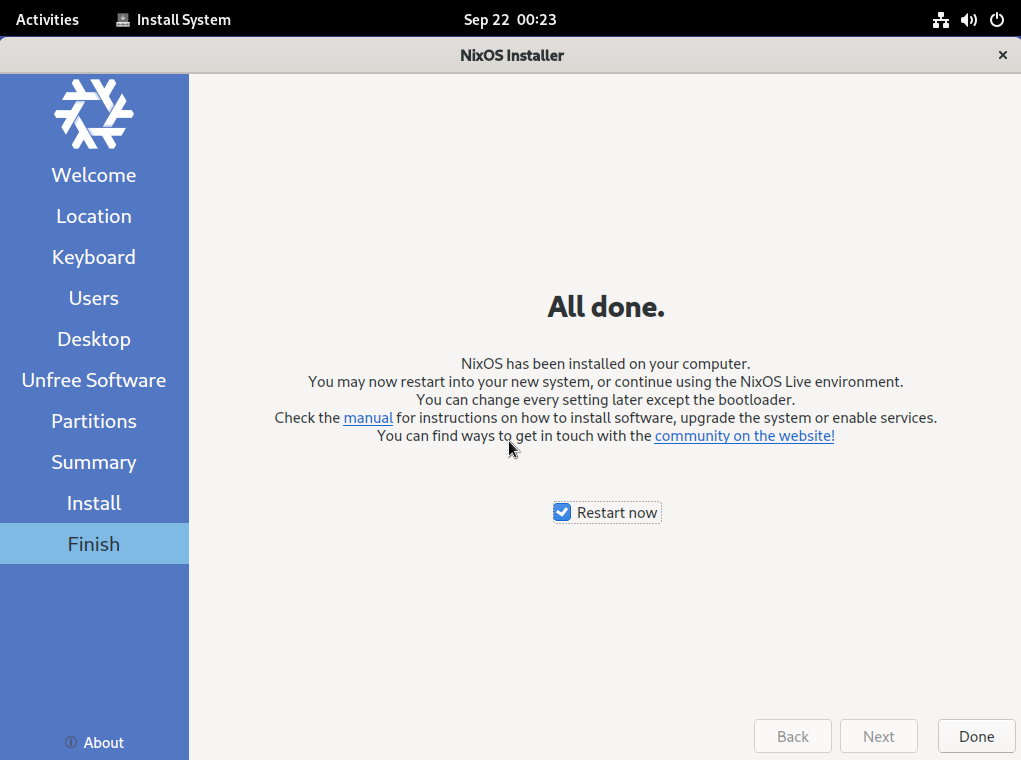
Step 8: Allow NixOS to proceed with the system installation.
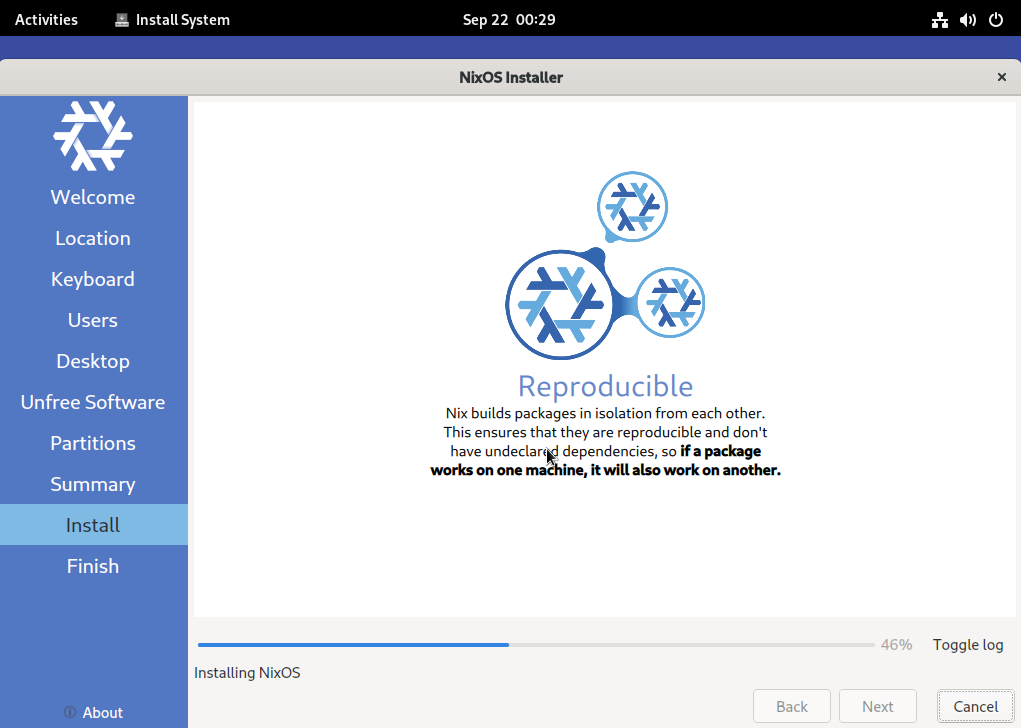
Step 9: The process will take approx 2 to 3 minutes as we’re installing an extremely minimal system without a graphical interface.
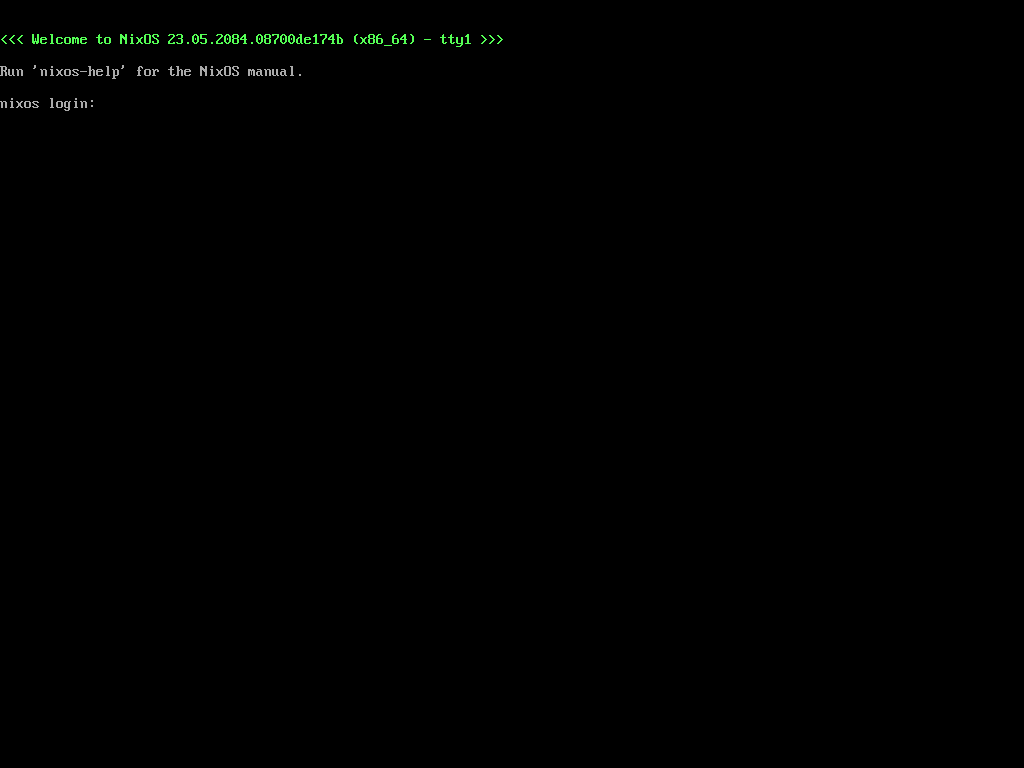
Step 10: After a successful reboot, you’ll be greeted by this screen, confirming the completion of the base NixOS installation. Here you have to enter the username and password combination set in the previous step to be able to access your system.
Getting the Resources
In this section, we’ll begin by getting our resources from GitLab snippets and then go step by step to make changes. You’ll be able to adjust various aspects of your system like what software it has and how it behaves. Let’s take it one step at a time to make your NixOS work just the way you like it.
Clone GitLab Snippet
To clone a GitLab snippet, ensure you have Git installed on your system. By default, Git may not be available. We can use a shell instance of Git using the following command:
nix-shell -p gitNow that we have git, execute the following command to clone the snippet:
git clone https://gitlab.com/snippets/3601956.gitThis will create a directory named ‘3601956’ in your home. We need to rename this directory for our convenience as below:
mv ~/3601956 ~/dotfilescd into ‘dotfiles’ you will find three files present over there:
-
configuration.nix
-
i3config
-
i3statusconfig
With this, you have successfully cloned the desired configuration file.
Editing Configuration File
Let’s begin by examining the configuration file we’ve recently downloaded. In this file, you’ll observe various comments identified by the ’#’ symbol. Pay close attention to these comments, as they play a crucial role in our installation process.
{ config, pkgs, ... }:

{

  imports = [
    /etc/nixos/hardware-configuration.nix
  ];

  # paste your boot config here...

  networking = {
    firewall = {
      enable = true;
      allowedTCPPorts = [];
      allowedUDPPorts = [];
    };
    hostName = "Nimbus-2021";
    networkmanager.enable = true;
  };

  # edit as per your location and timezone
  time.timeZone = "Asia/Kolkata";
  i18n = {
    defaultLocale = "en_IN";
    extraLocaleSettings = {
      LC_ADDRESS = "en_IN";
      LC_IDENTIFICATION = "en_IN";
      LC_MEASUREMENT = "en_IN";
      LC_MONETARY = "en_IN";
      LC_NAME = "en_IN";
      LC_NUMERIC = "en_IN";
      LC_PAPER = "en_IN";
      LC_TELEPHONE = "en_IN";
      LC_TIME = "en_IN";
      LC_CTYPE="en_US.utf8"; # required by dmenu don't change this
    };
  };

  sound.enable = true;

  services = {
    xserver = {
      layout = "us";
      xkbVariant = "";
      enable = true;
      windowManager.i3 = {
        enable = true;
        extraPackages = with pkgs; [
          i3status
        ];
      };
      desktopManager = {
        xterm.enable = false;
        xfce = {
          enable = true;
          noDesktop = true;
          enableXfwm = false;
        };
      };
      displayManager = {
        lightdm.enable = true;
        defaultSession = "xfce+i3";
      };
    };
    gvfs.enable = true;
    gnome.gnome-keyring.enable = true;
    blueman.enable = true;
    pipewire = {
      enable = true;
      alsa = {
        enable = true;
        support32Bit = true;
      };
      pulse.enable = true;
    };
  };

  nixpkgs = {
    config = {
      allowUnfree = true;
      pulseaudio = true;
    };
  };

  # Edit the username below (replace 'neeraj')
  users.users.neeraj = {
    isNormalUser = true;
    description = "neeraj";
    extraGroups = [ "networkmanager" "wheel" ];
    packages = with pkgs; [
      brave
      xarchiver
    ];
  };

  environment.systemPackages = with pkgs; [
    alacritty
    dmenu
    git
    gnome.gnome-keyring
    nerdfonts
    networkmanagerapplet
    nitrogen
    pasystray
    picom
    polkit_gnome
    pulseaudioFull
    rofi
    vim
    unrar
    unzip
  ];

  programs = {
    thunar.enable = true;
    dconf.enable = true;
  };

  security = {
    polkit.enable = true;
    rtkit.enable = true;
  };

  systemd = {
    user.services.polkit-gnome-authentication-agent-1 = {
      description = "polkit-gnome-authentication-agent-1";
      wantedBy = [ "graphical-session.target" ];
      wants = [ "graphical-session.target" ];
      after = [ "graphical-session.target" ];
      serviceConfig = {
        Type = "simple";
        ExecStart =
          "${pkgs.polkit_gnome}/libexec/polkit-gnome-authentication-agent-1";
        Restart = "on-failure";
        RestartSec = 1;
        TimeoutStopSec = 10;
      };
    };
  };

  hardware = {
    bluetooth.enable = true;
  };

  # Don't touch this
  system.stateVersion = "23.05";
}
I will explain each section of this file in detail but before that let’s have a look at the comments:
Bootloader
In the file above you can find this comment # paste your boot config here... Below that comment, you have to paste the bootloader configuration generated by your system. To do so follow these steps:
-
Type the below command:
nano /etc/nixos/configuration.nixExecuting this command will open your default NixOS configuration in the terminal-based text editor nano. Within this file, locate the section related to bootloader configuration, and make note of its contents. You can copy this information to a location of your choice for easy reference.
In my case, the section contains the following lines:
# Bootloader boot.loader.grub.enable = true; boot.loader.grub.device = "/dev/vda"; boot.loader.grub.useOSProber = true; -
Now we need to paste these lines into our freshly downloaded configuration by using the below command:
nano ~/dotfiles/configuration.nix# paste your boot config here... boot.loader.grub.enable = true; boot.loader.grub.device = "/dev/vda"; boot.loader.grub.useOSProber = true;
Locale and Timezone
Similarly, find the time section in the default configuration file and edit our downloaded configuration accordingly. Also, note that the line LC_CTYPE="en_US.utf8"; is mandatory for the dmenu application which is a fast and lightweight dynamic menu for X. It reads arbitrary text from stdin, and creates a menu with one item for each line
time.timeZone = "Asia/Kolkata";
  i18n = {
    defaultLocale = "en_IN";
    extraLocaleSettings = {
      LC_ADDRESS = "en_IN";
      LC_IDENTIFICATION = "en_IN";
      LC_MEASUREMENT = "en_IN";
      LC_MONETARY = "en_IN";
      LC_NAME = "en_IN";
      LC_NUMERIC = "en_IN";
      LC_PAPER = "en_IN";
      LC_TELEPHONE = "en_IN";
      LC_TIME = "en_IN";
      LC_CTYPE = "en_US.utf8"; # required by dmenu don't change this
    };
  };
User Profile
Replace my name (neeraj) with the username you set during the installation process in the below section of the config file. Note that in this section you can declare the packages you desire to install in your system. Either you keep it as is or you can follow this guide to manage packages efficiently using a modular approach.
Nix package management: a modular approach for customization
# Edit the username below (replace 'neeraj')
  users.users.neeraj = {
    isNormalUser = true;
    description = "neeraj";
    extraGroups = [ "networkmanager" "wheel" ];
    packages = with pkgs; [
      brave
      xarchiver
    ];
  };
If you’ve completed these steps, you’re now ready to proceed to the next step, which involves creating symlinks and applying the configuration.
Applying the Nix Configuration.
Now that our nix configuration file is set for installation, we have two choices. We can either move it to the /etc/nixos directory or create symbolic links. I personally recommend the latter option as it allows for easy future edits without needing sudo. Additionally, centralizing all configuration files in the dotfiles directory is much more convenient.
To create symlinks follow these steps:
-
Create a backup of the default configuration file as it is a good practice to have a backup.
sudo mv /etc/nixos/configuration.nix /etc/nixos/configuration.nix.bak -
Create symbolic link form our dotfiles directory to etc directory.
sudo ln -s ~/dotfiles/configuration.nix /etc/nixos/configuration.nix
We’ve now accomplished the creation, editing, and linking of our configuration to the Nix system. In the upcoming step, we’ll apply the i3 configuration files to achieve the precise theming we desire.
i3 Configuration
As mentioned earlier we have cloned three files from the GitLab snippet, let us create symbolic link for the i3 configuration as below:
-
Create config directory
mkdir ~/.config ~/.config/i3 ~/.config/i3status -
Create symlinks as below
ln -s ~/dotfiles/i3config ~/.config/i3/configln -s ~/dotfiles/i3statusconfig ~/.config/i3status/config
Confirming Files
Until now, we’ve successfully configured the system with the essential files. To validate this, let’s execute the following commands individually to check the directory listings.
-
Nix Configuration:
ls -la /etc/nixos/The output should resemble:
. .. configuration.nix -> /home/neeraj/dotfiles/configuration.nix hardware-configuration.nix -
i3 Config:
ls -la ~/.config/i3/The output should resemble:
. .. config -> /home/neeraj/dotfiles/i3config -
i3 Status Config:
ls -la ~/.config/i3status/The output should resemble:
.
..
config -> /home/neeraj/dotfiles/i3statusconfig
Once verified, we can proceed to the next step of rebuilding the system based on our configured settings.
Rebuilding the System
Now that we’ve carefully set up and confirmed the configurations we want, the next important step is to rebuild the NixOS system. This is essential to put the changes we’ve made into action, ensuring they are fully integrated and functional in our system.
Here are the steps to rebuild the system:
-
Execute Rebuild Command: Run the following command to initiate the system rebuild:
sudo nixos-rebuild switchThis command triggers the rebuilding process using the updated configuration files.
-
Reboot the System: To ensure the changes are fully implemented and take effect, reboot your system:
sudo rebootAfter the reboot, your NixOS system will be up and running with the newly configured settings.
Possible Issues
On successful installation of the system using the steps outlined above, there are a few issues that may arise and need attention to achieve the desired system setup:
-
Font Display Issues: Sometimes, certain fonts, particularly those from specialized font collections like Nerd Fonts, might not display correctly after installation.
-
Theme Mismatch: The applied theme doesn’t perfectly match the one depicted in images or expected.
While these issues might pose a challenge initially, we’ll discuss effective solutions and troubleshooting tips in the following section to address them and attain the desired look and functionality for our NixOS system.
Installing Nerd Font
Hack Nerd Font is a popular monospaced font with additional glyphs and icons that can enhance your terminal and code editing experience. To install the Hack Nerd Font on your NixOS system, follow these steps:
-
Find and Download the Nerd Font: Browse a trusted source like https://www.nerdfonts.com/font-downloads or GitHub (e.g., Nerd Fonts GitHub releases) and locate the Nerd Font variant you want. Download the font file (usually in
.zipformat). -
Extract the Font Archive: Locate the downloaded
.zipfile and extract its contents to obtain the font files (often in.otf,.ttf, or similar font formats). -
Create the Fonts Directory: Open your terminal and create the
fontsdirectory if it doesn’t already exist in~/.local/share/. Use the following command:mkdir -p ~/.local/share/fonts -
Move Fonts to the Fonts Directory: Move the extracted font files to the
~/.local/share/fontsdirectory. Use the following command:mv <path_of_extracted_fonts> ~/.local/share/fonts/Replace
<path_of_extracted_fonts>with the actual path to the extracted font files. -
Update the Font Cache: Update the font cache to recognize the newly added fonts. Run the following command:
fc-cache -vf ~/.local/share/fonts/This command updates the font cache, allowing your system to recognize the new fonts.
Installing a Custom GTK Theme and Icons
Customizing your GTK theme and icons can greatly enhance the look and feel of your NixOS system. Here’s a step-by-step guide on how to achieve this:
-
Find a GTK Theme and Icons: Start by exploring GTK themes and icons on popular websites and repositories like GNOME Look, Pling, and GitHub. Choose themes and icons that match your preferences. Here I have used the following theme and icon pack
-
Download the Theme and Icons: Download the desired GTK theme and icons. Typically, themes and icons are available in compressed formats such as
.zipor.tar.gz. -
Extract the Theme and Icons: Extract the contents of the downloaded theme and icons files to obtain their respective folders.
-
Move Themes to the Themes Directory: Move the theme folders to the appropriate themes directory. For GTK themes, this is often
~/.themes/. Use the following command with superuser privileges:sudo mv <path_of_downloaded_theme> ~/.themes/Replace
<path_of_downloaded_theme>with the actual path to the theme folder. -
Move Icons to the Icons Directory: Move the icon folders to the appropriate icons directory. Typically, this is
~/.icons/. Use the following command with superuser privileges:sudo mv <path_of_downloaded_icons> ~/.icons/Replace
<path_of_downloaded_icons>with the actual path to the icon folder. -
Select the Theme and Icons: Open your desktop environment’s settings or a customization tool like “Appearance” or “lxappearance.” From there, select the installed GTK theme and icons to apply the changes.
What on earth did we just do?
If you’ve made it this far in the article, congratulations! You’ve effectively installed a NixOS system with the i3 window manager up and running. However, if you’re still unclear about the steps, allow me to explain the code to you.
In this section of the provided code snippet:
xserver = {
  layout = "us";
  xkbVariant = "";
  enable = true;
  windowManager.i3 = {
    enable = true;
    extraPackages = with pkgs; [
      i3status
    ];
  };
  desktopManager = {
    xterm.enable = false;
    xfce = {
      enable = true;
      noDesktop = true;
      enableXfwm = false;
    };
  };
  displayManager = {
    lightdm.enable = true;
    defaultSession = "xfce+i3";
  };
};
We have configured aspects related to the X server (responsible for graphical display), window manager (i3 in this case), desktop manager, and display manager. Let’s break it down step by step:
-
X Server Configuration (
xserver):-
layout = "us": Sets the keyboard layout to “us” (U.S. English keyboard layout). -
xkbVariant = "": Specifies no keyboard variant. -
enable = true: Enables the X server, allowing graphical display.
-
-
Window Manager Configuration (
windowManager.i3):-
enable = true: Enables the i3 window manager. -
extraPackages: Additional packages to be installed along with i3. In this case, it includesi3status, a status bar for i3.
-
-
Desktop Manager Configuration (
desktopManager):-
xterm.enable = false: Disables xterm, a terminal emulator for the X Window System. -
xfce: Configures the XFCE desktop environment.-
enable = true: Enables XFCE. -
noDesktop = true: Disables the XFCE desktop (no icons or wallpaper). -
enableXfwm = false: Disables the XFCE window manager (xfwm4).
-
-
-
Display Manager Configuration (
displayManager):-
lightdm.enable = true: Enables the LightDM display manager, allowing users to log in. -
defaultSession = "xfce+i3": Sets the default session to start with both XFCE and i3 window manager.
-
Conclusion
In summary, this configuration sets up the X server, enables the i3 window manager, configures XFCE desktop (without desktop icons and using i3 as the window manager), and uses LightDM as the display manager, offering a blended XFCE and i3 session for users to log into.
If you’ve explored this configuration and have any suggestions or insights to enhance it further, I’d love to hear from you. Your feedback is invaluable and contributes to creating an even better and more efficient NixOS experience. Additionally, if this setup has worked well for you, don’t hesitate to share it with your friends and colleagues. Let’s spread the joy of an optimized and personalized computing environment! And as always keep reading, keep learning, keep exploring.